As an Amazon Associate, I earn from qualifying purchases
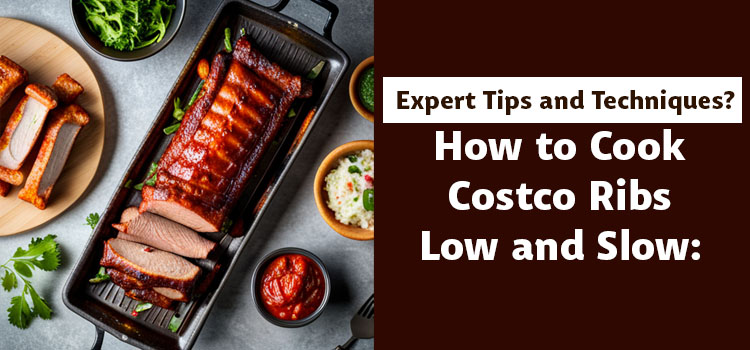
How to Cook Costco Ribs Low and Slow: Expert Tips and
Techniques?
Costco, a haven for bulk-buying and quality ingredients, often piques the interest of those who love to cook up a feast. Among the myriad treasures the brand boasts, the racks of ribs stand out not just for their generous portion but for their potential to be transformed into mouth-watering, fall-off-the-bone goodness. If you’re a food enthusiast, a home cook, or a barbeque fanatic, this guide is your ticket to mastering the captivating process of slow-cooking Costco ribs.
Prepare your palate, for nothing beats the succulent outcome of ribs that have been tended to with the care and patience of a seasoned chef. In this detailed exploration, we’ll uncover everything from selecting the right ribs to infusing them with the perfect smoky kiss, and, eventually, savoring the tender perfection you’ve created.
Choosing the Right Ribs
Not all ribs are created equal, and the first step to rib mastery lies in the selection. Thankfully, Costco offers a variety of rib options that suit different preferences.
Types of Ribs at Costco
Costco typically stocks two favorites: St. Louis-style ribs and Baby Back ribs, each with its own flavor and texture profile. While Baby Back ribs are known for their tender, leaner meat, St. Louis-style ribs offer a richer taste and are famously flavorful due to a slightly higher fat content.
Selecting the Best Ribs for Slow Cooking
Look for ribs with marbling — that’s the fat that’s going to provide the moistness and flavor as the ribs cook. You’ll want a good flesh-to-bone ratio and a layer of meat that’s relatively even in thickness to ensure even cooking.
Remember, the secret to great-tasting ribs is the quality of the meat. Freshness and the way the animal was raised can greatly influence the taste and texture, so choose wisely.
Preparation and Seasoning
Ribs require thoughtful preparation and a seasoning strategy that complements — not overpowers — their natural taste.
Getting the Ribs Ready
When you get home with your rib treasure, you’ll typically want to remove the tough membrane from the bone side to help the seasoning penetrate and ensure a more tender end result. Light trimming of excessive fat can also effectively maintain a balance of moisture and flavor without making the meal overwhelmingly greasy.
Seasoning Options
From dry rubs to wet marinades, the possibilities for seasoning your ribs are as vast as your imagination. Classic spice blends with a balance of sweet, heat, and savory notes are popular. Brown sugar, paprika, garlic, and onion powder often form the base, lending a robust flavor.
Experiment with different combinations, perhaps a Memphis-style dry rub for those who relish a bit of heat or a Kansas City-style BBQ sauce for a sweet and tangy option. Apply the seasonings liberally, ensuring they cover the entirety of the ribs for an even seasoning experience.
Low and Slow Cooking Method
The hallmark of great rib cookery is the low and slow method. Cooking at a low temperature for an extended period allows the meat to slowly break down, resulting in tender, flavorful ribs that have a perfect ‘bite’.
Setting Up Your Equipment
Whether you’re using a charcoal grill or a dedicated smoker, the set-up is crucial. Maintain a two-zone heat configuration, allowing you to control the temperature on one side for indirect cooking, while the other side provides the ideal environment for that essential smoky flavor.
Temperature Control
Temperatures around 225°F to 250°F are the sweet spot for slow-cooking ribs. Use a quality meat thermometer to monitor the heat, and be prepared to adjust your setup as necessary — this is where you’ll need to balance the art and science.
Low and slow is a technique that demands your time and attention but rewards you richly with incredibly succulent meat.
The Art of Smoke
The type of wood used for smoking impacts the taste of your ribs — hickory for a robust flavor, applewood for a sweeter note, or cherry for a milder profile.
Introducing Smoke
For gas grills, smoker boxes or pouches with wood chips are handy tools. Charcoal grill enthusiasts can sprinkle chips directly onto the coals. When using a smoker, wood chunks offer a slower, more consistent smoke, perfect for the long cook that ribs require.
Too much smoke can create a bitter flavor, so start with small amounts and adjust to your taste. Remember, patience is a virtue here. The goal is not to produce a column of smoke throughout the entire cook, but rather a consistent, light presence that enhances the meat’s flavor.
Achieving Tender Perfection
Through the low and slow process, the ribs will gradually transform. It’s a masterpiece in the making that requires your keen observation.
The Patience Game
Depending on the size and type of ribs, the cooking time can vary between 4 to 6 hours. Resist the urge to check on your ribs too frequently, as each peek extends the overall cooking time and disturbs the cooking environment that you’ve so carefully cultivated.
Signs of Readiness
When your ribs are ready to come off the grill or smoker, they should boast a rich, mahogany color, a slight crack on the surface where the meat has pulled back from the bones, and a texture that’s tender but not falling apart. Use a fork to check for an ideal ‘doneness’ — it should glide through the meat with little resistance.
Resting and Serving Up
Once your ribs have achieved tender perfection, it’s time for one final touch — rest them. Tent with foil and allow the ribs to rest for about 10-15 minutes. This step redistributes the juices and makes for an even juicier experience.
When it’s time to serve, do so with flair. A good set of tongs will ensure the ribs maintain their integrity as you separate them into portions. Whether you’re serving a crowd or enjoying them quietly, the first bite promises to be a sensory celebration.
Recap and Encouragement
Slow-cooking Costco ribs low and slow is an art — and you, the home cook, are the artist. The process is a blend of knowledge, patience, and personal touch that culminates in a taste experience that’s hard to beat.
For those new to the technique, take one step at a time, and with each batch, you’ll refine your approach. Remember, it’s not just about the end product; it’s about enjoying the entire creative venture — from the purchase to the cooking to the satisfied smiles around the table.
If your taste buds are tingling, it’s time to don the apron and get to the kitchen or patio. You have the guide, the tools, and the spirit — now, all that’s left is to begin your flavorful rib odyssey. Savor each moment and each bite, for the art of cooking Costco ribs low and slow is a legacy that you can make your own.
As an Amazon Associate, I earn from qualifying purchases